The solar eclipse will offer photographers a rare opportunity to capture some fantastic imagery on August 21. In part one of our eclipse special, we talked about the ideal kit to help you capture the best possible photos, so now it’s time to talk about technique.
Follow our tips to safely shoot the solar eclipse on August 21!
Now, learning a few pointers won’t just bag you better imagery, it will also make you more aware about the risks and precautions needed for shooting a solar eclipse. Looking directly at the sun is dangerous and risks harming your eyesight so please remember to shoot safely and use appropriate protective gear such as solar shades when August 21 arrives.
Where can you see the eclipse?
Across North America and even parts of Europe and the UK you’ll be able to see a partial eclipse, but the total eclipse will only be seen across a 70 mile path over North America, which will cross 14 states and should be able to be seen by up to 12 million people. For a more detailed map of the eclipse crossing, click here.
When can I see the eclipse?
The eclipse will be seen first in Oregon on the west coast of America at 09:05 PDT and over the next hour and a half will travel over America, leaving the shores at South Carolina. Photographers in the UK should be set up and ready by 19:30 local time. At most, the total eclipse will last just two minutes and 40 seconds, so you will have to work fast and be prepared.
Step 1)
Keep the camera steady:
Set up your camera on a tripod - this will keep the camera steady so you won’t have to keep repositioning the camera find the correct composition. Switch off image stabilisation as, when the camera is on a tripod, this can actually lead to some image blur. Remember, trying to focus on a distant subject while using a long focal length is hard, so even if you don’t own or use a tripod, find some sort of support as this really will make a difference.
A sturdy tripod will help keep your camera steady
Step 2) Compose carefully:
For a frame-filling shot, you should aim for at least 1000mm of focal length, but more is better. Remember, the earth is constantly rotating and the moon is in orbit, so if you focus too tightly, you run the risk of the subject creeping out of the frame as you bracket an exposure (see step 6).
Step 3) Add a filter to your telezoom lens:
Don’t try and photograph the eclipse without using a filter as it’s not safe and you won’t get decent results. Ideally, use a solar filter, which is designed especially for this sort of photography. If you don’t have a solar filter, a strong ND filter (15-stops or stronger) will give you a chance of capturing a decent image.
Use a circular or square ND filter to reduce light passing through the lens
Step 4) Flip out the screen:
To avoid looking through the viewfinder at the eclipse, flip out the screen and use this via Live View instead. If your camera doesn’t have a flip out screen, try using the Wi-Fi instead in conjunction with your smartphone to line up the shot.
Live View helps you compose without looking through the viewfinder
Step 5) Connect the cable release:
Even slight vibrations during the exposure will lead to blurred images so to solve this problem, connect a cable release that can trigger the camera remotely. If you don’t have a cable release, you can use the DSLRs self-timer mode to trigger the shutter without you having to touch the camera.
A cable release allows you to trigger the camera remotely
Step 6) Select RAW:
As balancing the exposure when shooting an eclipse can be a little tricky, the best idea is to shoot in RAW format, rather than JPEG. This will give you more tolerance when it comes to editing the file software such as Photoshop or Lightroom later.
Shoot in RAW to help you edit files later on the computer
Step 7) Bracket your exposure:
The exposure settings will change as the moon crosses the sun, so to keep up with these changing light levels, it can pay to bracket the exposure. This means using the camera’s Auto Exposure Bracketing feature (AEB) to quickly take multiple images at different shutter speeds but retaining the same aperture. Most cameras allow you to control how far apart the different shutter speeds will be. For example, 1-stops difference, 2-stops or 3-stops etc. Using these feature is a good safety net when you aren’t sure of the correct exposure settings.
The AEB feature helps you take multiple images at different exposures.
Step 8) Experiment with focal length:
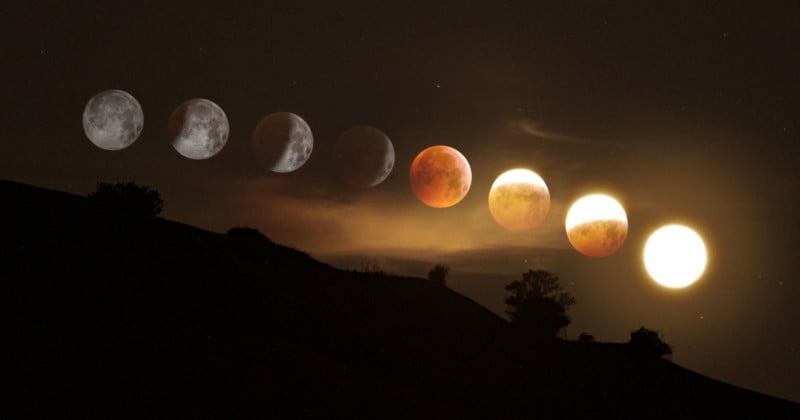
Capturing a frame-filling image of the eclipse is great, but why not include some foreground too by zooming out. Alternatively, you could shoot multiple images of the eclipse transition from partial to full and then merge the files together in Photoshop to tell the whole story of the day.
Remember to share your solar eclipse images on social media and tag Digital Rev so we can feature them!
. digitalrev.com2017-8-9 03:00